All Aboard | Inspired by Shimelle

Wednesday, 10 August 2022


Hey everyone! Today I have a layout to share that has been inspired by Shimelle! I was delighted to take part in this project and as Shimelle is such a huge inspiration it was an easy task!

I looked back through Shimelle’s archives and came across a sketch dated May 2013, and the layout Shimelle made for this sketch. The purpose of this sketch was to add a starburst to your layout and this is something I absolutely love to do so this was the perfect inspiration.

I decided to made a Harry Potter themed layout today because I recently visited the Harry Potter Studio tour with my daughter and several years ago Shimelle made lots of layouts about her trip to the Studio Tour, which I crushed over at the time, so this theme is another way Shimelle has inspired me.

There is one final way in which Shimelle has inspired me today and that is her block of two 6x4” photos. Together they made a 6x8” landscape block and my photo is a 6x8” landscape photo. I find this photo size particularly tricky to use and therefore I often look to Shimelle’s layouts when scrapping with this size to see how she has tackled the task. There are many layouts of Shimelle’s that use this photo formation and therefore lots of sources of inspiration.

I started off with a black background and I cut a 4x12” strip of patterned paper to turn into a starburst. I didn’t have much paper left from the collection I was using, (Witches & Wizards 2 by Echo Park Paper) so had to use one strip, rather than several different patterns. I used a pencil and a ruler to draw my starburst and then I cut all the pieces with scissors. I distressed all the edges and stuck them to the top of my black cardstock background.  Because my starburst was all one pattern I wanted to embellish it further by adding long stitches of black thread to each ray, and I also added punched stars in several different colours, as well as some tiny wooden stars too. This helped to make it more interesting and therefore more of a feature, in the absence of lots of different patterns.

I placed my photo centrally which is slightly different from Shimelle’s sketch and layout and I also added three more small photos to the bottom left corner. I turned the small photos into an embellishment cluster of their own by adding a few stickers, punched stars and fussy cut envelopes.

To the right of the small photos I added a small amount of patterned paper and two journaling strips. I didn’t have access to a white or silver pen when making this layout so couldn’t write directly onto the black background so journaling strips were my answer.

On the right I fussy cut a large stack of suitcases from a journaling card and added this as an additional area of embellishment.

For my title I used small (and very old!) alphabet stickers which I mounted first onto a plain piece of paper. I did this for two reasons: firstly to ensure they stood out against the background, and secondly so that I could raise the title as one piece onto foam pads. I finished off with splatters of white paint and a few more punched stars.

If you are ever struggling for inspiration then I would definitely recommend looking at sketches. They don’t have to be followed exactly and can just give you that little spark you need to get your creativity flowing. Even basic ones can get you thinking differently.

Thank you so very much for joining me today and happy scrapping

Niki xx 

[ad] 


Magical | For the Love of Pretty Paper Sketch Challenge

Saturday, 6 August 2022


Hey everyone, I’m playing along with the August For the Love of Pretty Paper sketch today. I’ve rotated the sketch 180 degrees but otherwise kept to the sketch quite closely.

I’ve used two portrait photos instead of one landscape photo and I’ve put my title below my photos instead of above (as represented on the sketch when it is turned 180 degrees). I’ve also made my embellishment clusters quite a bit bigger but otherwise everything is in roughly the right place!

I’ve used the Witches & Wizards collection by Echo Park Paper and I’ve chosen papers and elements that have meaning and relate to my photos. For example, I’ve chosen a black background paper to represent the darkness of the Harry Potter series, I’ve chosen the green paper to represent Slytherin House because the Cursed Child play revolves a lot around Slytherin. I’ve used a large train embellishment because the train features a lot in the play, and I’ve used footprints from the Marauders’ Map because that features in the play too. It’s not always possible to choose scrapbooking supplies to suit your photos, but I do it as often as my photos and supplies allow because I do like my layout to have meaning rather than just always because the supplies were pretty! There’s nothing wrong with this approach of course but I like to have some links with my photos when I can. These things aren’t always obvious to others looking at the layout, but they do have meaning to me.

Enjoy playing along with the August sketch and happy scrapping

Niki xx

@nikiclairecreates


You are Cute | Lottie Loves Paper | Cocoa Vanilla Studio Storyteller

Wednesday, 3 August 2022


Hi everyone! Here is a new layout for Lottie Loves Paper using the beautiful Storyteller Collection by Cocoa Vanilla Studio. I started off with that beautiful striped paper. I cut a section about 8” wide and then cut in between the coloured stripes. I distressed them all then stuck the back in position but I also made the ends into tabs by folding them under and securing with tape. I extended the colour of the stripes by using Distress Oxides.

I then added lots of Floral Ephemera to the ends of all stripes matching the colours, and added my photo too. I mounted my photo and added an Ephemera frame behind it. My title is ‘you are cute’ from the Foam Phrase Stickers.

I then added some of the puffy heart stickers and a few Bramble Fox Hearts. I also added a few more bits of ephemera to the stripes and added a few phrase stickers from the Sticker Sheet.

I finished off with some splatters of white paint and lots of sequins!

Thanks so much for joining me today and happy scrapping

Niki xx

@nikiclairecreates

[ad]


H2O | Simple Stories | Simple Vintage Lakeside

Tuesday, 2 August 2022


Hi everyone! Here is another layout using the very beautiful Simple Stories Simple Vintage Lakeside collection. I started by adding my photo into one of the Chipboard Frames. I layered the frame with another frame, offset behind it. I also added a layer of patterned paper.

I chose a sheet of Simple Vintage Lakeside Basics paper for my background. I always love working with these as they are solid colours with beautiful printed textures on them. They are my favourite thing to use for backgrounds! I trimmed it down and distressed the edges significantly. I then mounted this onto a sheet of the checked patterned paper from the Lakeside collection. I love the brown and green tones.

I positioned the frames onto the layout and tucked un lots of leaves from the Nature Bits pack. I also added Foam Stickers, some icons from the Bits & Pieces pack and some Chipboard Stickers too.

I love phrase stickers so added a few of these at the top of the layout. These also served to cover up a random person in the background of my photo!

I added a few of the beautiful Decorative Brads, created another small cluster at the bottom of the layout and handwrote my journaling.

I also added a title using the two different fonts from the Simple Vintage Lakeside Sticker Book. I outlined the letters with a fine-liner pen to make them stand out better against the background.

I finished off with a few splatters of white paint.

I hope you have enjoyed seeing this layout and make sure to check out the Simple Vintage Lakeside collection, it is so beautiful for all your lake photos!

Happy scrapping

Niki xx

@nikiclairecreates

[ad] 


Just Add Water | Simple Stories | Simple Vintage Lakeside


Hello everyone, here is a new layout for Simple Stories, using the Simple Vintage Lakeside collection. I really enjoy working with the Simple Vintage collections, they are so beautiful and packed full of gorgeous icons.

I started off with a dark patterned paper with pretty foliage and butterflies. I drew a large circle centrally then cut this out. I distressed the edges of the circle and then backed it with a sheet of green paper from the Simple Vintage Lakeside Basics pack. I used foam pads around the edge of the circle to give it plenty of dimension.

I mounted two photos on the black and white striped paper and then set about layering them onto the layout. I used two of the Chipboard Clusters, overlapped slightly, as the base for my photos. I added plenty of Bits and Pieces, Nature Bits, Foam Stickers and some Decorative Brads around this area too. I particularly love the signpost that reads ‘trail’, ‘lake’ ‘lodge’. I also totally love all the ducks!

At the top opposite corner from the photos, I added another small cluster in order to balance out the large one with the photos. I love the wooden rounds that have phrases on. I chose the one that says ‘time to unplug’ and arranged that together with a mushroom and some leaves from the Bits & Pieces pack.

I added a chipboard title that says ‘just add water’ – how awesome is that!

I finished off with splatters of white paint and I also handwrote my journaling below the title.

Thank you so much for joining me today and happy scrapping

Niki xx

@nikiclairecreates

[ad] 


Happy Days | Lottie Loves Paper | Paige Evans Splendid

Friday, 22 July 2022


Hi all! I have a layout to share today using the Splendid collection by Paige Evans. I cut a large circle from that luscious lime green paper cut it out including another smaller circle from the middle. I turned the smaller circle over and used this as place to put my photo.

I fussy cut a large flower cluster from another Splendid paper and tucked this under the photo and then created a large embellishment cluster around the left side of the photo.

I’ve used a Bramble Fox Perspextive for my title and also used a couple of butterflies from the same set too. I’ve used a little Distress Oxide ink under the embellishment cluster and the title too I finished off with splatters of white paint and a few sequins.

Hope you like it! Happy scrapping

Niki xx

@nikiclairecreates

[ad] 


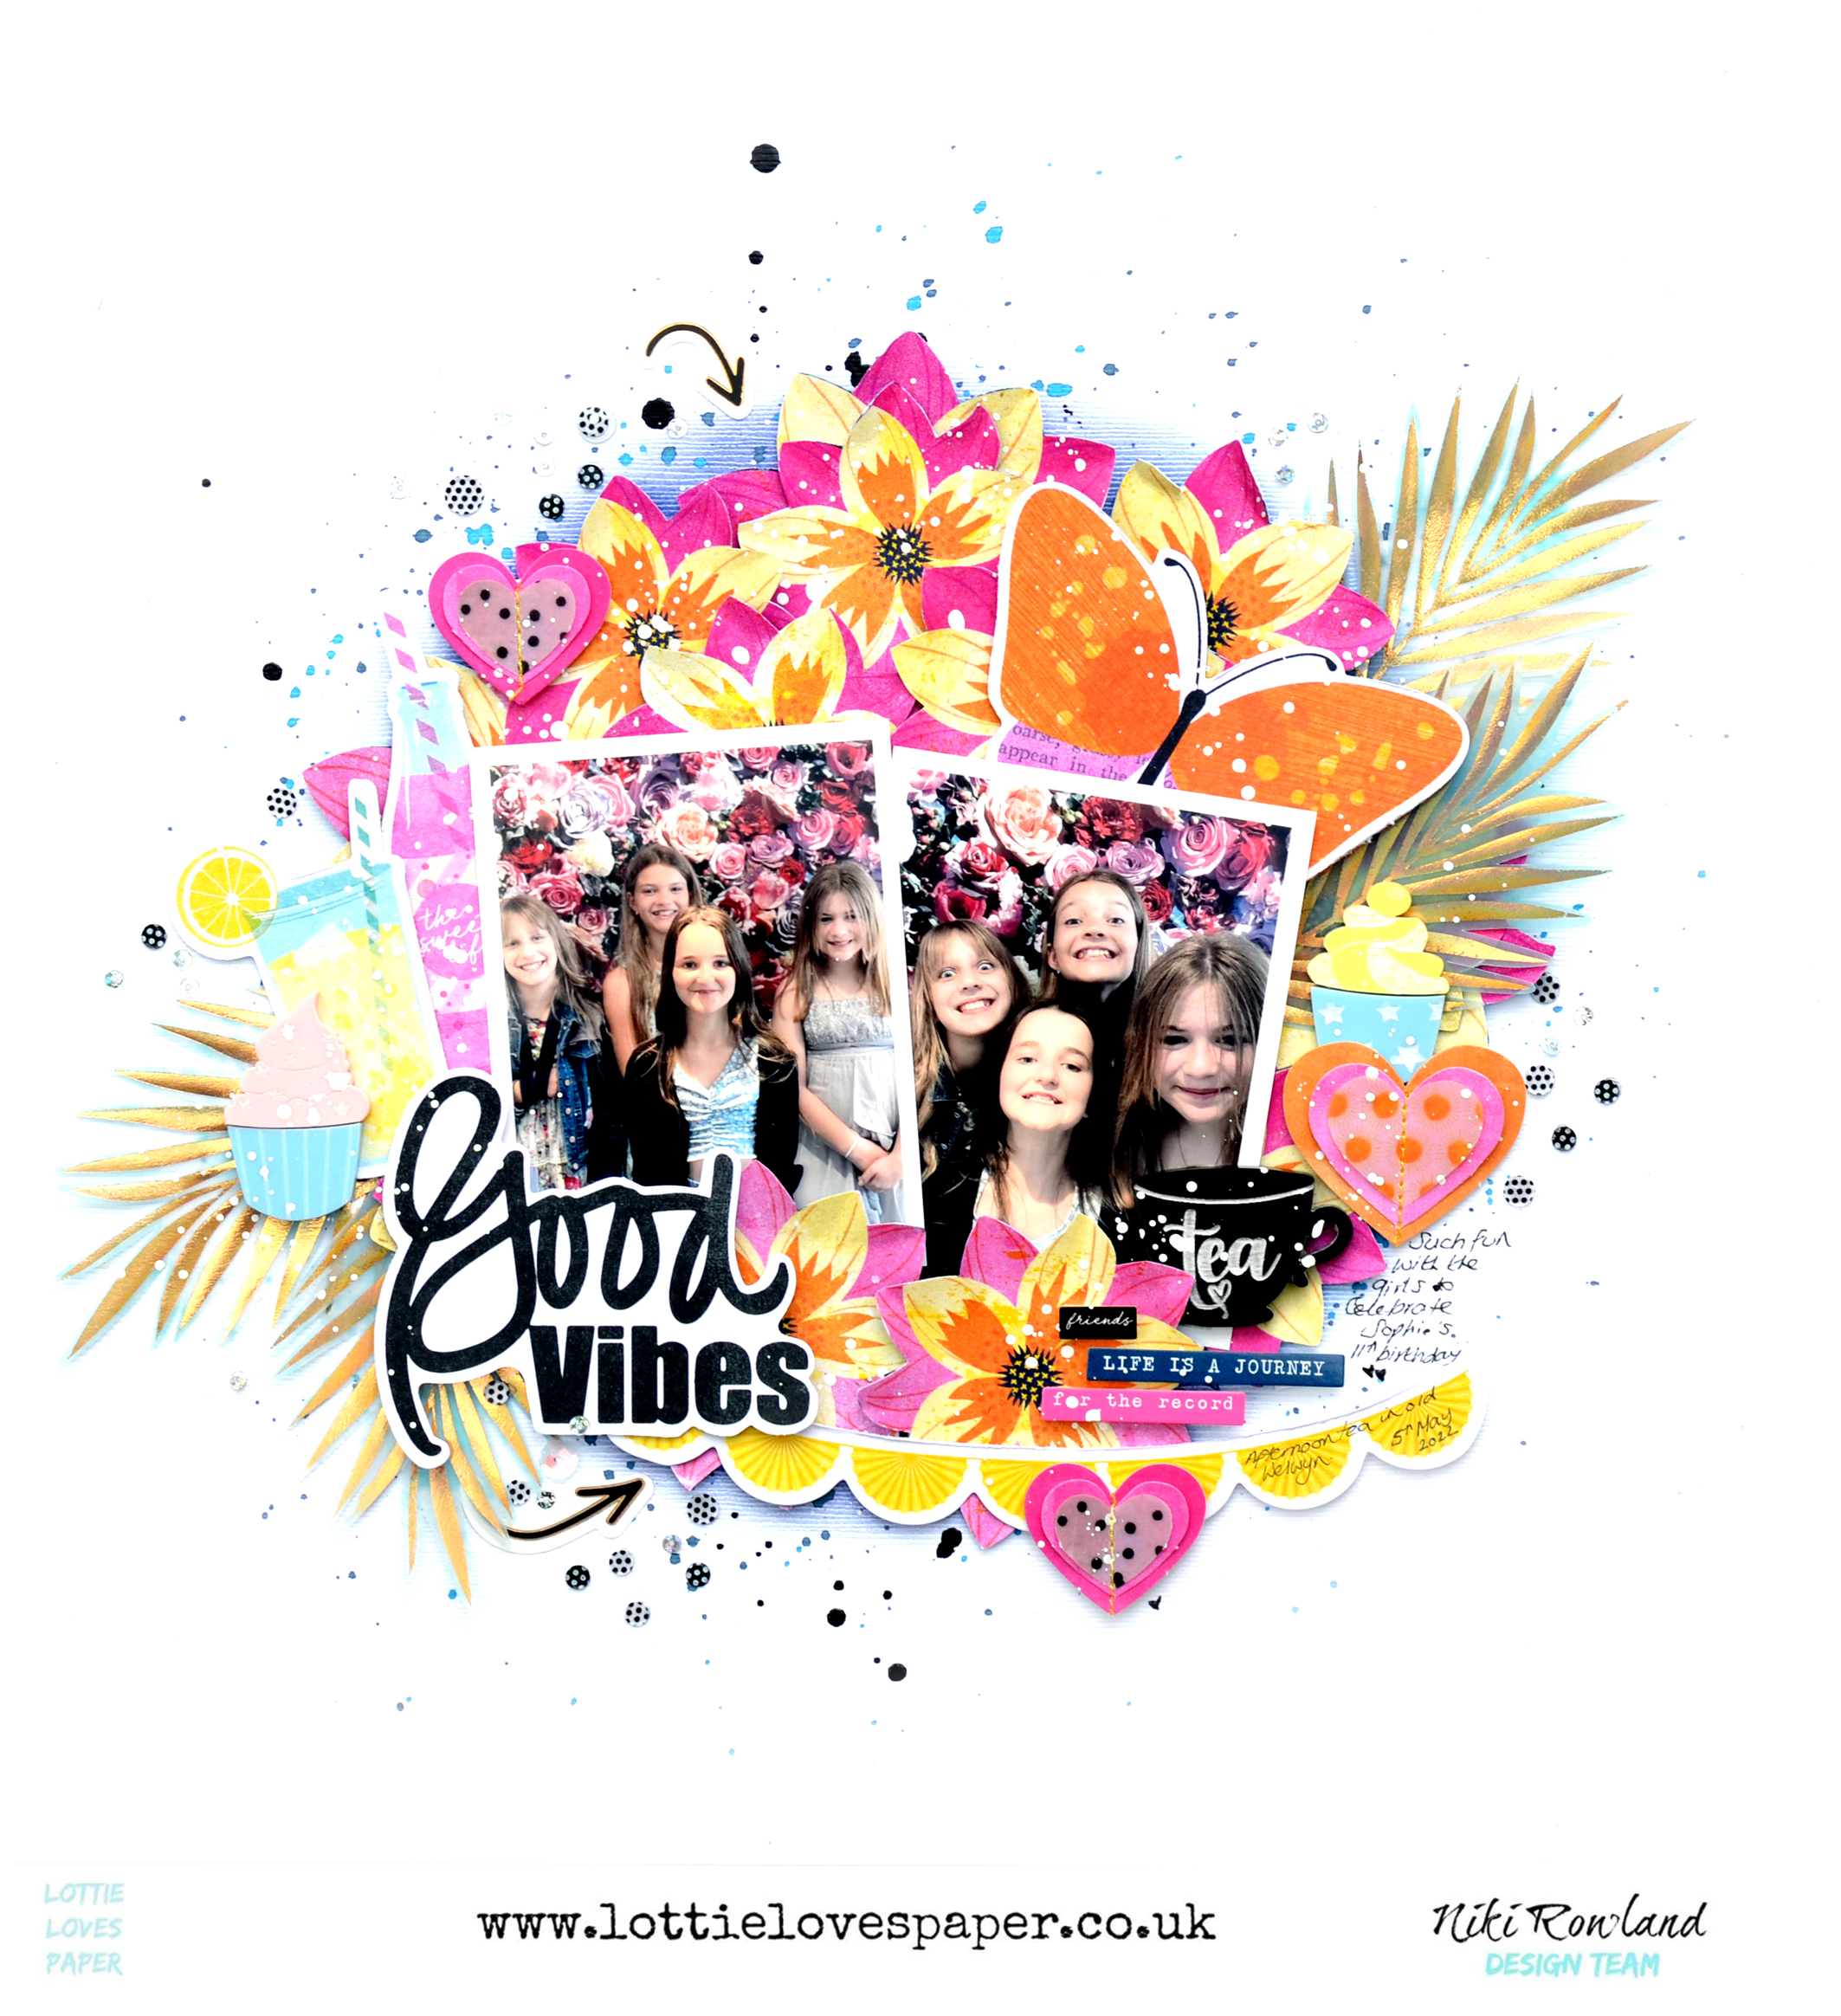
Good Vibes | Lottie Loves Paper | Vicki Boutin Sweet Rush

Friday, 15 July 2022


Hi everyone, here is a new layout using the Vicki Boutin Sweet Rush collection. I’m loving playing with this collection, it is so bright and colourful!

For this layout I wanted to fussy cut those beautiful flowers so spent some time doing that. I then arranged them in a circle shape on the layout. Before sticking them in place I added some blue Distress Oxide ink to the background together with splatters of the same blue ink and also black paint. I chose blue because the flowers were originally on a blue background and I really loved that colour combo!

I fussy cut some beautiful ferns from the Speciality Vellum paper and tucked those in. I added two photos centrally and added a few embellishments from the Sweet Rush Ephemera, those gorgeous layered hearts and some Perspextives from Bramble Fox. I finished off with more splatters and some sequins too.

I hope you like the layout! Thanks so much for joining me today and happy scrapping

Niki xx

@nikiclairecreates 

[ad] 


Awesome | Lottie Loves Paper | Cocoa Vanilla Studio No Limits

Friday, 8 July 2022


Hi everyone! Here is my latest layout and video for Lottie Loves Paper using the No Limits collection by Cocoa Vanilla Studio.

I started off with some circles of patterned paper that I cut from the 6x8 paper stack. I nested them together with my photo which I also cut into a circle shape.

I used multiple Bramble Fox Stencils to create the background together with my Distress Oxide inks. I love the multi layered stencilling, it turned out way better than I expected! I added black splatters to the background too and also cut some die cut star clusters using metal dies (also Bramble Fox).

Once my background was dry I then added the circles and the title which is from the No Limits Chipboard stickers. I added bits of ephemera too and fussy cut those lovey stars from one of the No Limits papers. I added a few label stickers and handwrote my journaling.

I also added lots of speech bubbles and some stars and triangle Perspextives.

Thanks so much for joining me today and happy scrapping

Niki xx

@nikiclairecreates

[ad] 


Beach Day Mini Album | Simple Stories | Simple Vintage Seas

Tuesday, 5 July 2022


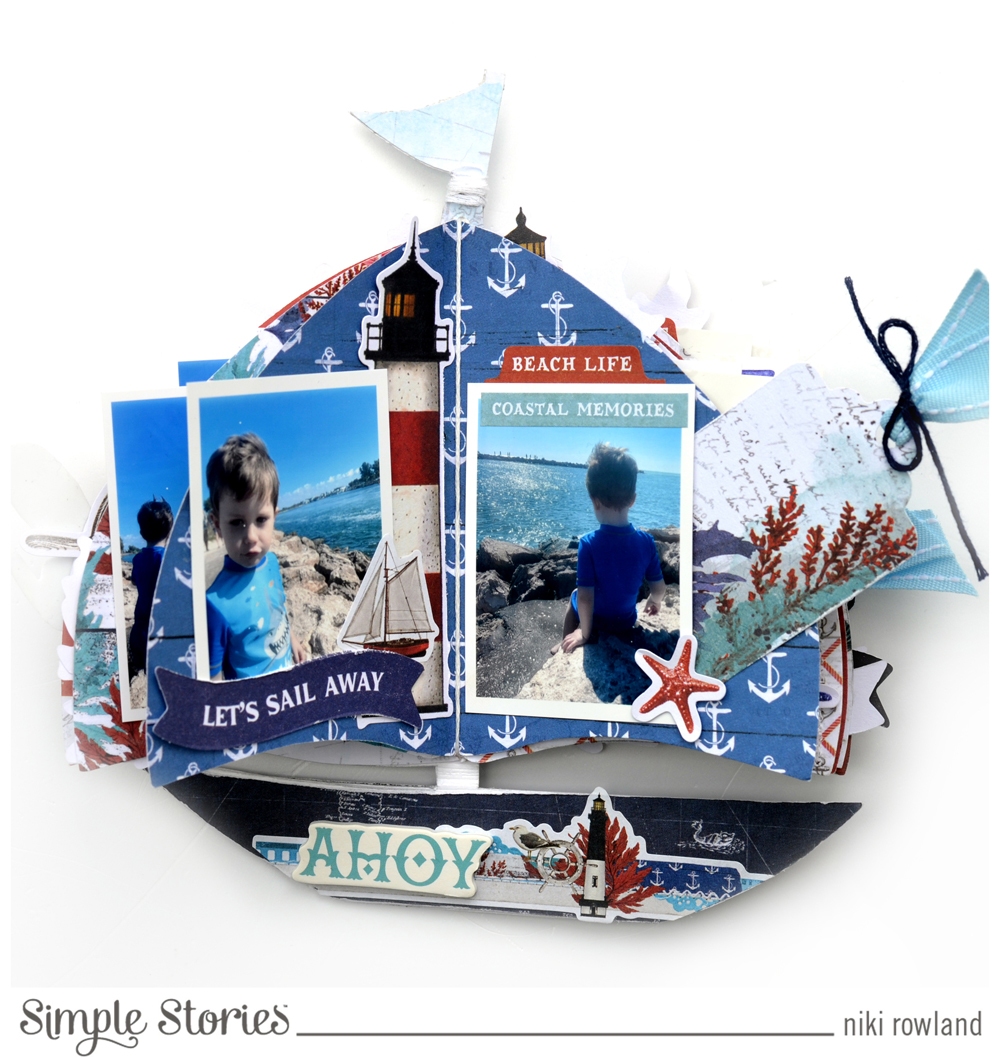
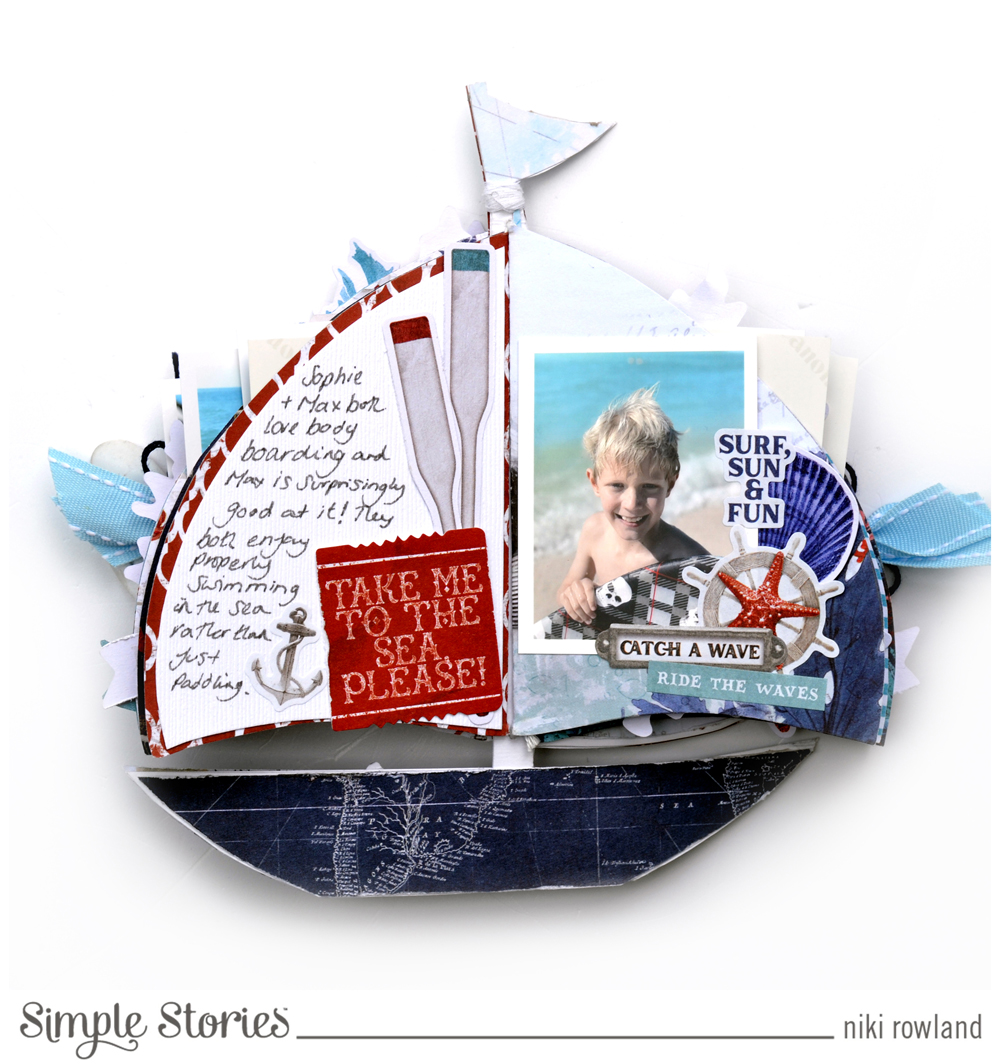
Hi everyone! Here is a new mini album for Simple Stories using the beautiful new Simple Vintage Seas collection. The collection has a red, white and blue colour palette and is nautical themed with beach elements too. I decided to document a day at the beach.

I drew a sailing boat onto white card and cut it out. I cut off the right sail and used this piece as a template for my pages. I used lots of papers from the Vintage Seas 6x8 Paper pad which I folded in half, and then I cut around the sail shape. This make lots of little ‘signatures’.

I pierced holes into the boat’s mast and used a needle and white thread to make long stitches. I sewed over and over again through the same holes to make lots of stitches: four on the front and four on the back. I fastened off and then slotted each of my signatures round each of the stitches. This is a bit difficult to explain without showing an example, so take a look at the process video for more details.

I turned the front of my album into a shaker pocket by cutting acetate to the same size, machine stitching around it and trapping sequins inside. I then embellished the front cover with Foam Stickers, Bits & Pieces, and Decorative Brads.

I also added patterned paper to the other sail and also the boat itself. I also added a few embellishments to these too, including stickers from the Sticker Book.

Inside my pages I added my photos together with lots of lovely embellishments. I mostly stuck to the Sticker Book, Cardstock Stickers, Bits & Pieces and Nautical Bits as these were the flattest elements and meant my Mini Album didn’t get too bulky!


I turned more pages inside the album into shaker pockets and also made little pull out tags to slot behind some of the photos for extra journaling. I added white card to some of the pages to made more space for journaling.

I love how this mini album turned out, it is absolutely adorable and is totally perfect to capture our memories from a day at the beach!

Thanks so much for joining me today and happy scrapping

Niki xx

@nikiclairecreates 

[ad]